

iPhone 17 Pro Milky Way Cheat Sheet

Milky Way with iPhone 17 Pro — Quick Guide
Fast Setup (≈60 seconds)
Mount phone on a sturdy tripod; Flash OFF, Live Photo OFF.
Enable RAW (Apple ProRAW) + 48 MP (see steps below).
Use the 1× (main) camera for the best detail/48 MP capture.
Compose with a dark foreground; avoid stray lights in-frame.
Tap-and-hold to AE/AF Lock on the sky, then lower exposure slightly.
Set a 3 s timer (or Bluetooth remote) to avoid shake.
Let Night mode pick ~10–30 s; shoot several frames for options/stacking.
What You Need
Tripod + phone clamp; Bluetooth remote or use the 3 s timer.
Dark-sky location (ideally Bortle 1–4) with clear weather.
Planning apps: weather, light pollution, moon phase, Milky Way position.
Optional manual/RAW app (e.g., Halide, ProCamera) for extra control.
Enable ProRAW & 48 MP (iPhone 17 Pro)
Settings → Camera → Formats
Toggle Apple ProRAW → ON
ProRAW Resolution → 48 MP
Note: 48 MP ProRAW typically uses the 1× (main) camera—stick to 1× for highest quality.
Use RAW in the Camera App
Open Camera → Photo, select 1×.
Tap RAW so it shows ON (or choose PRO mode if available).
Flash OFF, Live Photo OFF.
Use a tripod + 3 s timer (or a remote).
Tap-and-hold to AE/AF Lock on the sky; nudge exposure down a touch to protect highlights.
Night-Mode Exposure (Stars)
In dark conditions, Night mode often suggests 10–30 s.
If stars smear/“trail,” shorten to ~10–15 s and shoot more frames.
Don’t touch the phone during exposure; the timer/remote prevents vibration.
Optional: Manual RAW Apps
Halide / ProCamera let you set manual ISO/shutter + RAW.
Start around ISO 400–1600, 10–15 s, 1× lens; take multiple frames for stacking.
Always use the main 1× camera for the cleanest star detail.
Pro Tips for Cleaner Stars
Avoid the 0.5× ultra-wide for critical star detail—stick to 1×.
Shield the lens from stray light to reduce flare/haze.
Shoot 4–8 frames and median-stack later (Lightroom Mobile/Desktop) to cut noise.
White balance in edit: start around 3500–4500 K, then adjust by taste.
Keep your foreground dark/simple; watch for head-torches or passing cars.
Edit & Share
In Photos or Lightroom Mobile: do noise reduction first, then contrast/clarity/dehaze.
Use local adjustments to enhance the Milky Way core without over-brightening the sky.
Export JPEG/HEIF for sharing; keep ProRAW as your archival master.
Watch the full field test: iPhone 17 Pro vs $3000 camera — Nightscape Odyssey
© 2025 Nightscape Odyssey • https://www.youtube.com/@nightscapeodyssey.mattclarke?sub_confrimation=1

🌌 Beginner’s Guide to Capturing the Milky Way (Nightscape Edition)
It all begins with an idea.
Have you ever stood under a clear night sky and wondered how photographers capture those jaw-dropping images of the Milky Way stretching across the horizon? The good news — you don’t need the world’s most expensive gear or a degree in astrophysics to get started. All you need is a camera, a tripod, and a little know-how.
In this post, I’ll walk you through the basics of nightscape astrophotography so you can capture your very first Milky Way image.
🛠️ Essential Gear (Without Breaking the Bank)
Camera – Any DSLR or mirrorless with manual controls and RAW shooting is perfect.
Lens – A wide-angle lens (14–24mm) with an aperture of f/2.8 or faster is ideal. Don’t stress if you’re starting with a kit lens — work with what you have!
Tripod – Stability is everything. Even a budget tripod will do the job if it’s solid.
Extras – A headlamp with red mode, spare batteries, and a lens warmer (or a hand-warmer hack) will save you frustration in the field.
📸 Camera Settings Made Simple
Astrophotography tutorials can get technical fast, so here’s the short version:
Mode: Manual
Focus: Switch to manual, zoom in on a bright star in live view, and fine-tune until it’s sharp.
Aperture: Wide open (f/2.8 or lower).
Shutter speed: Use the 500 Rule (500 ÷ focal length = max seconds before stars trail).
ISO: Start at 3200–6400. Don’t fear the noise — it’s easier to fix in editing than blurry stars!
White balance: 3800–4200K gives a natural look.
🗺️ Planning Your Shoot
Location is everything. You’ll want:
Dark skies – Use apps like Light Pollution Map or Stellarium to escape city glow.
Timing – In the Southern Hemisphere, the Milky Way core is most visible from March to October.
Foreground – Think about what you’ll place under the stars: an old building, a tree, or even yourself. The landscape is half the story.
❌ Common Beginner Mistakes
Forgetting to turn off image stabilization while on a tripod.
Shooting only one frame instead of a short series (which you can stack later to reduce noise).
Trusting Auto White Balance (it usually makes the sky too warm).
Not checking focus again during the night — temperature shifts can move it slightly.
🌠 Final Thoughts
Nightscape astrophotography is a mix of patience, planning, and creativity. The first time you see your camera screen light up with the Milky Way, it’s addictive.
If you’d like to see these steps in action, check out my YouTube channel Nightscape Odyssey where I film real adventures under the stars — from abandoned ghost towns to dark-sky reserves.
👉 Subscribe here for tutorials, gear reviews, and cinematic nightscape journeys.
✨ Next up on the blog: I’ll be sharing a gear breakdown of what I personally carry for a night under the stars (with links and affordable alternatives).
🎒 What’s in My Nightscape Bag (Gear for Beginners & Pros)
It all begins with an idea.
When it comes to nightscape photography, gear can feel overwhelming. Do you really need the most expensive lens? How much kit is “enough” to capture the Milky Way? The truth is — you don’t need everything at once. You just need the right essentials for where you are in your journey.
This is what I personally pack when I head out into the dark, plus some affordable alternatives to get you started.
📸 The Core Setup
Camera – I use a Sony A7SII for video and a Nikon Z6II for stills. But honestly, any camera with manual controls and RAW shooting will work. If you’re starting out, even a second-hand DSLR or entry-level mirrorless is perfect.
Lens – My go-to is a wide fast prime: 14–24mm range, f/2.8 or faster. I love my 24mm f/1.4, but a budget-friendly Rokinon/Samyang 14mm f/2.8 can deliver stunning results for beginners.
Tripod – Don’t skimp here. A solid tripod keeps your stars sharp. I add weight by hanging my backpack from the center column if it’s windy.
👉 Insert image block here — “Flat lay of my main camera + lens + tripod setup.”
🔦 The Overlooked Essentials
These are the small items that make or break a night under the stars:
Headlamp with red mode – Keeps your night vision intact.
Spare batteries – Cold nights drain power fast.
Hand warmers or dew heater – A lifesaver against lens fog.
Remote shutter release – To avoid camera shake.
Lens cloth – Because dust and dew will find you.
👉 Insert image block here — “Close-up shot of hand warmers strapped to lens.”
🌌 Extras That Elevate Your Shots
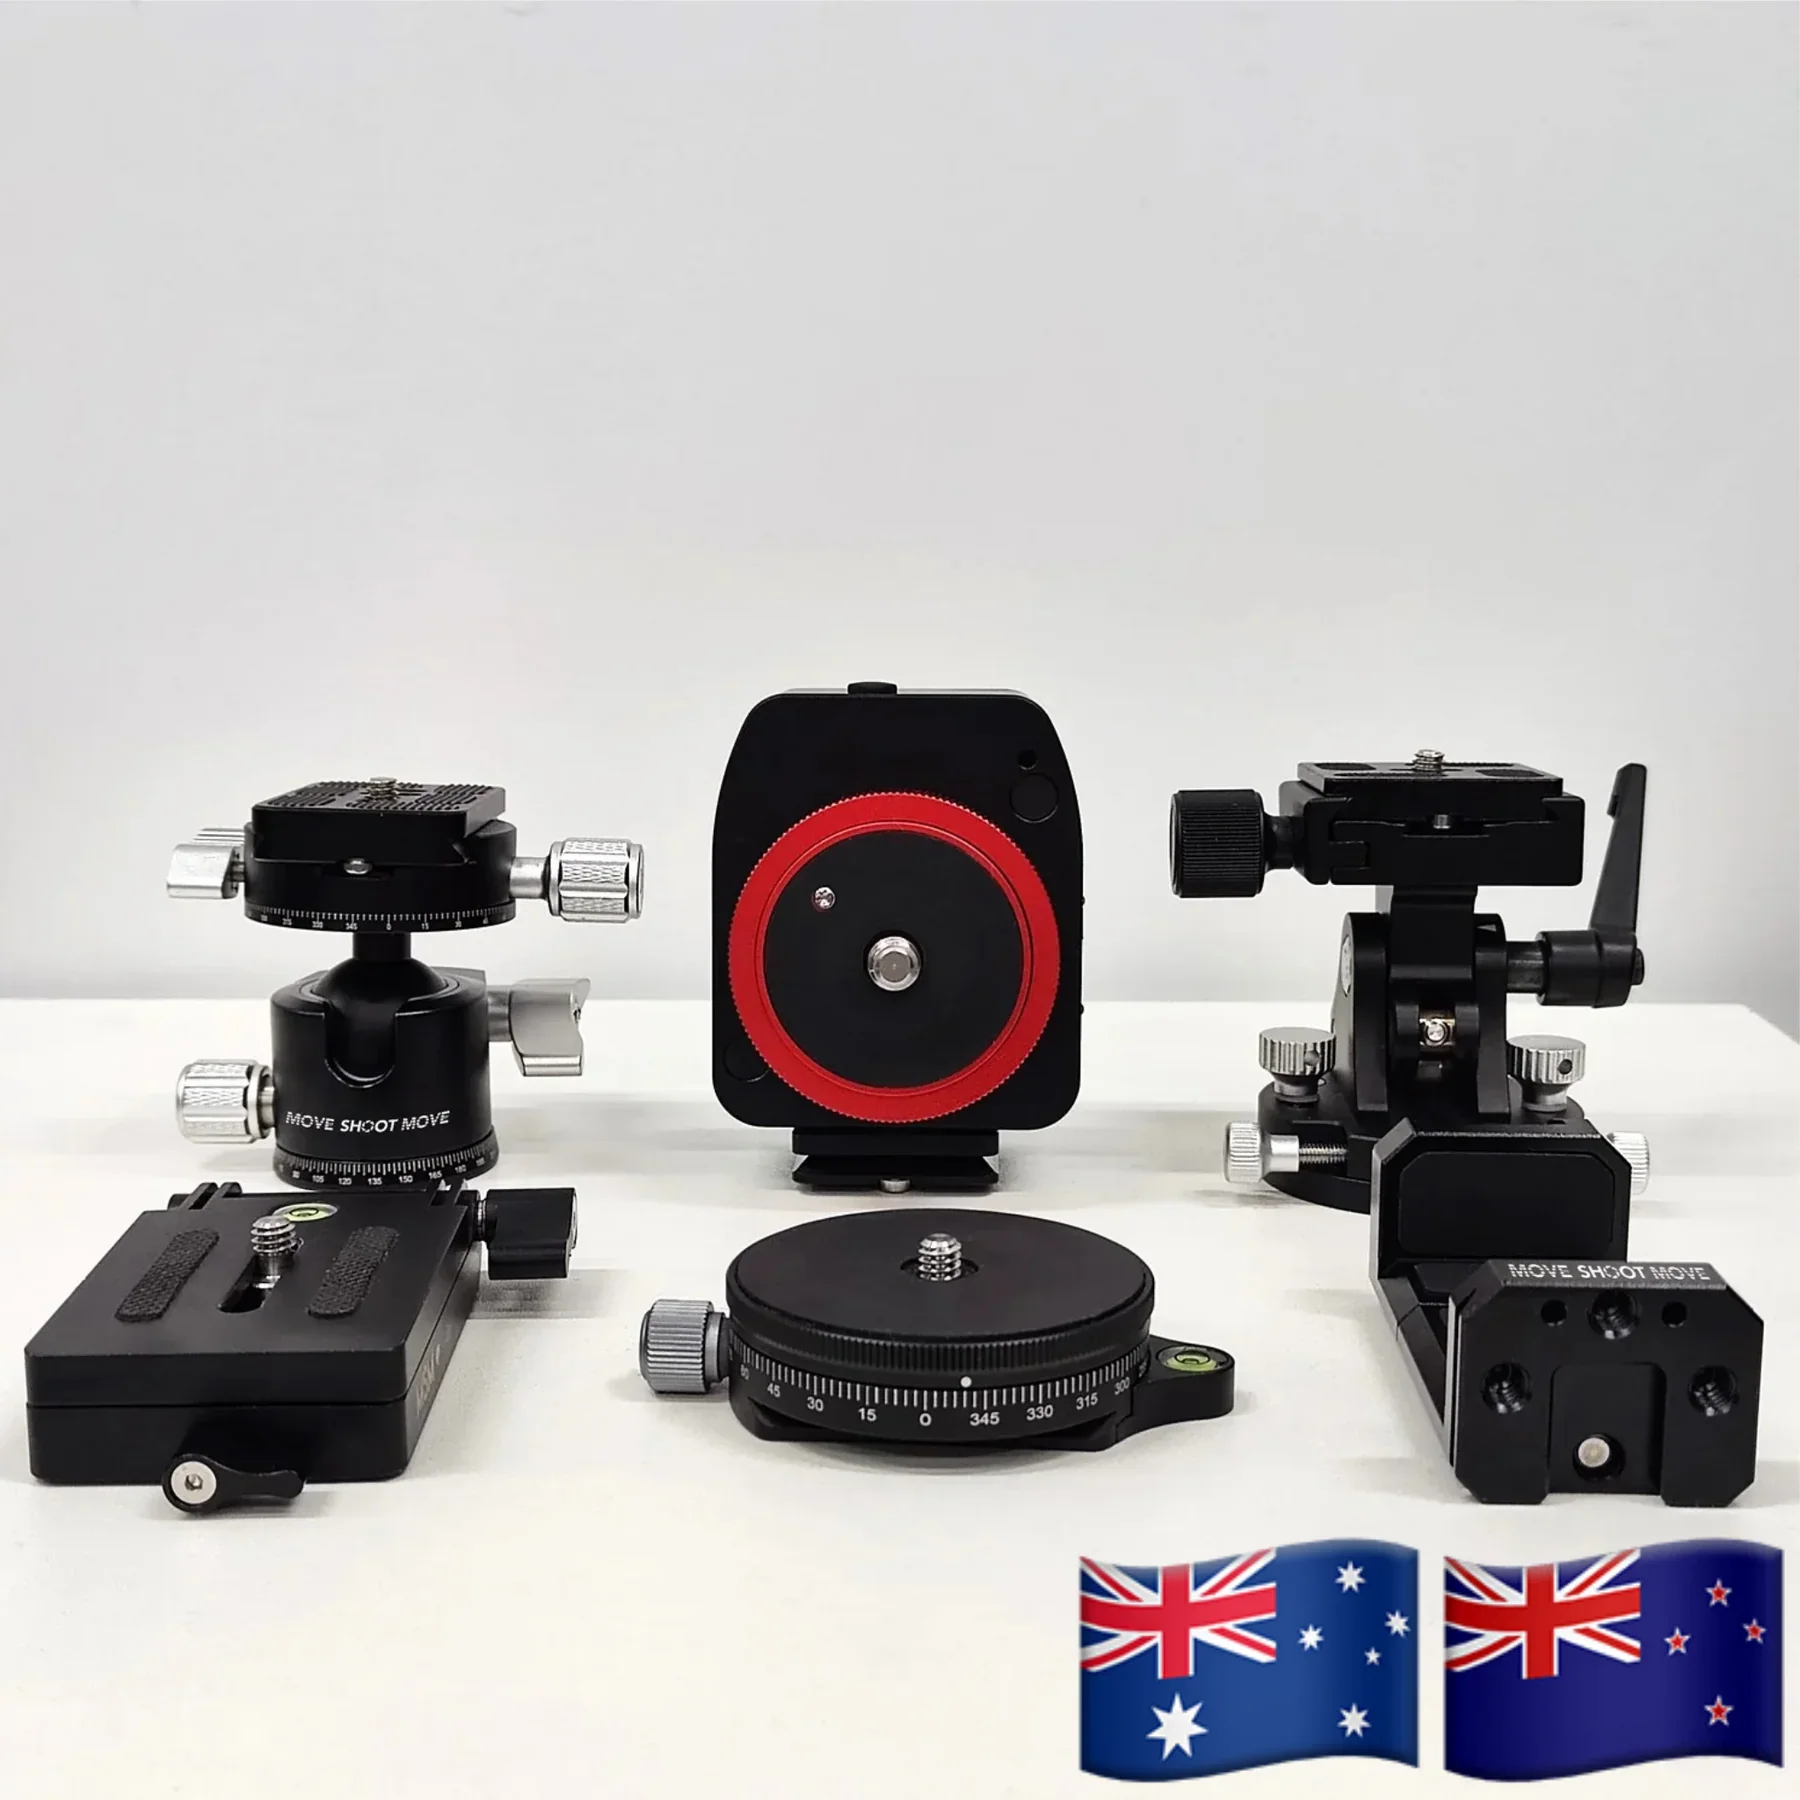
Star tracker – I sometimes use the Move Shoot Move Nomad for longer exposures with pinpoint stars. (Pro tip: I have a discount code on my site if you’re curious to try one!)
Apps – Stellarium, PhotoPills, and SkySafari help with planning and timing.
Drone – My DJI Mini 4 Pro helps me scout compositions during the day.
👉 Insert video block here — “Clip of star tracker in action.”
💡 Beginner vs. Pro Bag
If you’re starting from scratch, here’s a simple way to think about it:
Beginner Bag
Camera + kit lens
Tripod
Headlamp
Extra battery
Pro Bag
Full-frame camera + fast prime lens
Tracker + intervalometer
Drone for scouting
Extra lenses (14mm, 24mm, 35mm)
Portable power bank + dew control
🌠 Final Thoughts
You don’t need to buy it all at once. Start small, master the basics, and build up as you grow. The most important thing isn’t the gear — it’s getting out under the stars, experimenting, and creating images that mean something to you.
👉 Want to see this kit in action? Check out my YouTube channel where I take these setups into the field and show real results:
🔗 Watch Nightscape Odyssey on YouTube
✨ Coming Next on the Blog
A step-by-step guide to planning your first Milky Way shoot — from checking weather to choosing the perfect location.
🌌 How to Plan Your First Milky Way Shoot
It all begins with an idea.
The secret to a successful nightscape isn’t just the gear or the settings — it’s the planning you do before you even leave home. A little prep can mean the difference between a glowing Milky Way arch across your frame, or a washed-out sky with nothing but cloud and frustration.
Here’s how I plan every shoot, step by step.
🗓️ Step 1: Pick the Right Time
Milky Way Season – In the Southern Hemisphere, the core is visible from March through October, with peak viewing around winter.
Moon Phase – The darker the better. Aim for the new moon or a slim crescent. Even a 30–40% moon can wash out the stars.
Time of Night – The core rises after dark depending on the month. In early season (March/April), you’ll need to shoot after midnight. By winter, it’s already visible right after sunset.
👉 Insert image block — “Moon phase calendar screenshot.”
🗺️ Step 2: Find the Right Location
Escape Light Pollution – Use apps like Light Pollution Map or Stellarium to scout areas away from city glow.
Check the Horizon – You don’t want hills or buildings blocking the rise of the core.
Foreground Interest – A tree, windmill, abandoned farmhouse — your foreground gives the photo story and scale.
👉 Insert image block — “Milky Way rising over a lone tree or farmhouse.”
🌦️ Step 3: Watch the Weather
Clear Skies – Apps like Clear Outside or Weather Underground help predict cloud cover.
Humidity & Dew – High humidity means foggy lenses. Pack hand warmers or a dew heater if it’s forecast.
Wind – Strong winds = shaky tripod. Have a plan to weigh it down.
📱 Step 4: Use Planning Apps
Here are my go-to tools:
Stellarium – Free, perfect for seeing how the Milky Way aligns with your landscape.
PhotoPills – Paid, but powerful for planning alignments and timelapses.
Google Earth – Old school but underrated. I use it to check terrain and horizons before heading out.
👉 Insert video block — “Screen recording of Stellarium showing the Milky Way rise.”
🧭 Step 5: Safety & Prep
Always tell someone where you’re going.
Pack warm clothes, water, and a power bank.
Arrive while it’s still daylight — it’s easier (and safer) to scout compositions in the light.
Carry a headlamp with red mode so you don’t ruin your night vision.
🌠 Final Thoughts
Planning is the unsung hero of astrophotography. When you line up the right time, place, and conditions, the experience becomes less about battling the elements — and more about enjoying the moment under the stars.
If you’d like to see how I plan and shoot in real time, check out my YouTube channel Nightscape Odyssey, where I take you along on actual shoots in dark-sky reserves, abandoned ghost towns, and more.
🔗 Watch Nightscape Odyssey on YouTube
✨ Coming Next on the Blog
An editing walkthrough for beginners — how to turn your raw Milky Way shot into a glowing masterpiece in Lightroom.

🖥️ Editing Your First Milky Way Photo (Beginner’s Guide)
It all begins with an idea.
So, you’ve been out under the stars, nailed your focus, captured your first Milky Way image… and now it’s sitting on your camera looking flat, noisy, and not quite what you imagined. Don’t worry — that’s normal. The magic happens in editing.
Here’s a simple workflow to turn your RAW file into a glowing nightscape masterpiece.
📂 Step 1: Import Your RAW Files
Always shoot RAW. JPEGs crush the detail and make editing harder.
Import into Lightroom, Lightroom Classic, or similar RAW editor.
Pick your best frame (sharp stars, no tripod shake, no airplane trails).
👉 Insert image block — “Side-by-side RAW vs. final edit.”
🎚️ Step 2: Basic Adjustments
White Balance – Set between 3800–4200K for a natural night sky.
Exposure – Gently increase until stars start to pop.
Contrast – Boost slightly to separate the Milky Way from the background.
Highlights/Shadows – Drop highlights, raise shadows to bring out detail.
🌌 Step 3: Enhance the Milky Way
Clarity / Dehaze – Add a touch of dehaze to cut through atmosphere and make the core stand out. Be subtle — too much will make it look fake.
Vibrance / Saturation – Boost vibrance slightly to bring out natural colors in the galactic core.
Tone Curve – Add a gentle “S-curve” for extra contrast and punch.
👉 Insert image block — “Milky Way core before and after dehaze.”
🧹 Step 4: Reduce Noise
Noise Reduction – Apply just enough to smooth the sky without killing star detail.
Sharpening – Add sharpening to stars only (mask out the sky if possible).
Pro tip: If you took multiple shots, stack them in software like Sequator (PC) or Starry Landscape Stacker (Mac) for cleaner results.
🎨 Step 5: Creative Touches
Add a subtle vignette to draw the eye toward the Milky Way.
Balance the foreground exposure with the sky — lift shadows slightly if your land is too dark.
Crop for impact — try a vertical frame to emphasize the height of the galaxy.
🌠 Final Thoughts
Editing isn’t about faking the night sky — it’s about bringing out what your camera already captured. With practice, you’ll find your own style, whether that’s natural and subtle or bold and dramatic.
If you’d like to see my editing process step by step, I’ve created tutorials and behind-the-scenes videos on my YouTube channel Nightscape Odyssey.